Master the art of effortless braids with our step-by-step guide! Create stunning hairstyles easily. Get expert tips for flawless braiding.
Why Are Braids A Great Styling Option?
Braids. You’ll see them everywhere. Why? Because they are FUN and functional.
They keep the hair off your face and neck when needed, while still looking super cute.
Creative self expression. Which is super important. A gorgeous secondary look from heatless waves after the braids are removed. Plus, braids can have a big impact on a style with little to no effort.
And who doesn't love a quick and easy styling routine? I know we do.
Step One: Grab Your Favorite Products
There are a variety of braids you can learn and add into your hair repertoire, but first you’ll need some products!

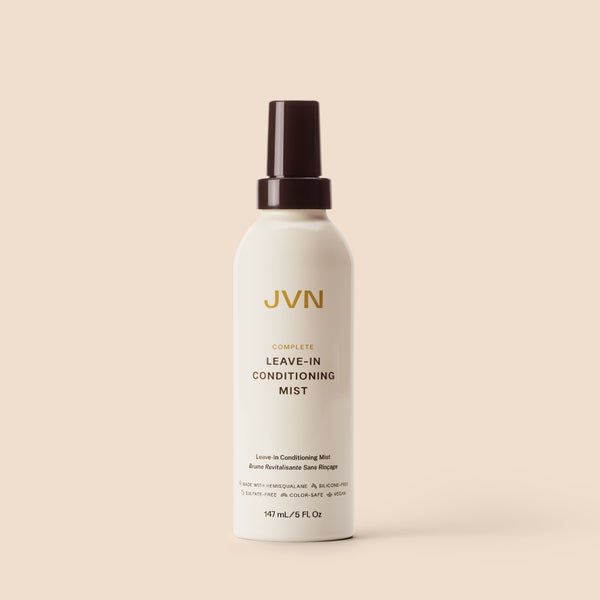
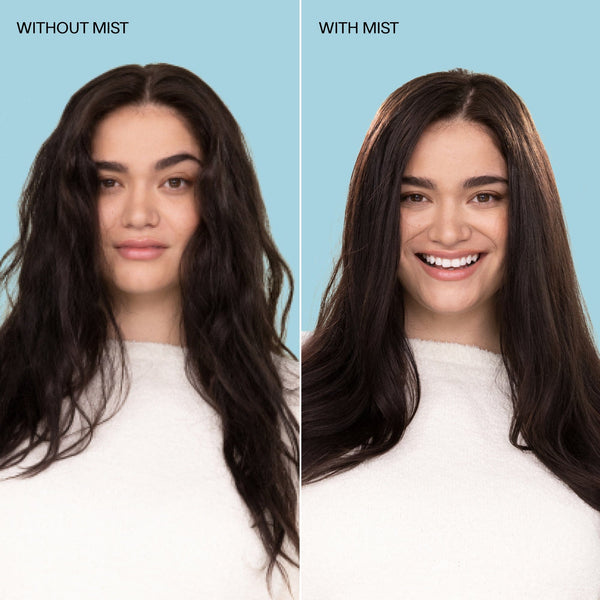
Complete Leave-In Conditioning Mist is a great choice to replenish moisture for easier detangling with a wide tooth comb!
Complete Air Dry Cream will work wonders to help style the hair and keep the braids looking neat and tidy for a sleek look! It will also help enhance that gorgeous, lived-in, wavy texture for the next day once the braids are removed!
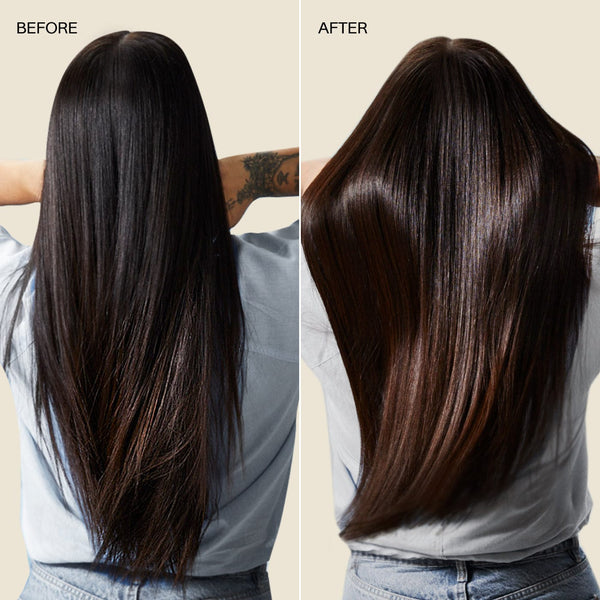
Lastly, Complete Nourishing Shine Drops! Just a few drops in the palm of your hand for UV protection and that perfect bookend long lasting shine.

The Classic Braid
The most classic style you will see is a 3-Strand Braid.
Step 1: Begin with three even sections of hair.
Step 2: Next take the right section and cross it over or under the middle section. Over or under will not matter, it just depends on your style preferences and what may come easier to you. Be sure to choose one of them.
Step 3: Now do the same with the left section.
Step 4: Continue to alternate sides and repeat this process all the way down to the stopping point of your choice.
***Pro tip for beginners- Remember to say to yourself “right over/under the middle, left over/under the middle”. Repeating this method to yourself will make the process easier and you’ll have it in no time.
The French Braid/Dutch Braid
Step 1: Begin with three even sections of hair.
Step 2: Next take the right section and cross it under the middle section.
Step 3: Now do the same with the left section.
Step 4: Once you have crossed your first 2 sections, pick up a little bit of hair from the right side of your head to gather with your right piece before you cross under the middle again.
Step 5: Now do the same with the left side, picking up a little bit of hair to place with the left piece, then cross under the middle. Pulling the hair UNDER each section, while simultaneously pulling outside sections with each crossing piece creates a look where the braid essentially sits on top of the hair.
Step 6: Continue to gather hair from each side alternating right over middle, left over middle, and repeat this process all the way down. You will eventually run out of hair to gather from the sides, when this happens just keep braiding normal to the stopping point of your choice.
FUN FACT: This is the method to create a Dutch braid, where your braid appears to lay on top of your hair. To create a French Braid instead, you will simply repeat the same process but cross the hair OVER rather than under. This gives the illusion of the braid being hidden.
Bonus Braids
Fishtail braids can look intricate and complicated, but it’s quite the opposite. They are a simple touch with a big impact giving off romantic and ethereal vibes.
Step 1: Divide a section of hair in half that you want to have the “fishtail” look.
Step 2: Start by taking a piece of hair from the back of the left section.

Step 3: Cross that piece over the front of the right section.
Step 4: Now take a piece from the back of the right section and cross it over the section on the left, creating an X formation.

Step 5: As you work your way down you’ll see the fishtail start to take form!
Step 6: Once you’ve reached your stopping point, feel free to give a little tug and pull on all those X crossed strands. This allows for a little separation and the braid to look fuller.
This braid is so fun and simple that you’ll be incredibly happy to have learned it and can’t wait to start incorporating it into an updo, bun, head wrap, or pony.
Pull-Through Braid
But, say you’re looking for a more unique look and want to try something new and different. We’ve got you covered.
A pull-through braid isnt an actual “braid,” but a different type of styling method for a braid. They are fun, flirty, and super easy.
Step 1: You will need to take a top section of the hair and place it in a ponytail. Then clip the top ponytail so that it’s out of the way so you can grab another section right underneath and place that into a ponytail too.

Step 2: Split the top ponytail in half and flip the bottom ponytail over the top, so that the bottom ponytail is not between the two sections of your top pony. Then clip that section so it’s out of the way on top of the head.
You’ll now want to bring the two divided sections together from the top pony and grab some more hair from the sides to create a new “third” pony.
Step 3: Repeat the process of splitting the previous pony in half and flipping the bottom ponytail up and into a clip. Then pull the split halves and more hair from the side into a new ponytail section. Continue this until you’ve reached a stopping point of your choice.
You can now gently pull on the hair up and out from the bubbled sections to the desired thickness/looseness or leave as is.

Remember to use that creative expression and make every stylized look uniquely yours!
And That’s A Wrap… Oh We Mean Braid!
Elevating any hairstyle all year long with some playfulness and elegance using small braids or big braids will help make a statement. Whether it’s wedding season, date-night, or a casual day of being outdoors, a beautiful braid is one of the most versatile techniques for so many occasions.
Follow us on YouTube and social media channels for more styling techniques, tips, and tricks!


